
Simple Cooking Tips for Perfectly Fluffy Grains Every Time
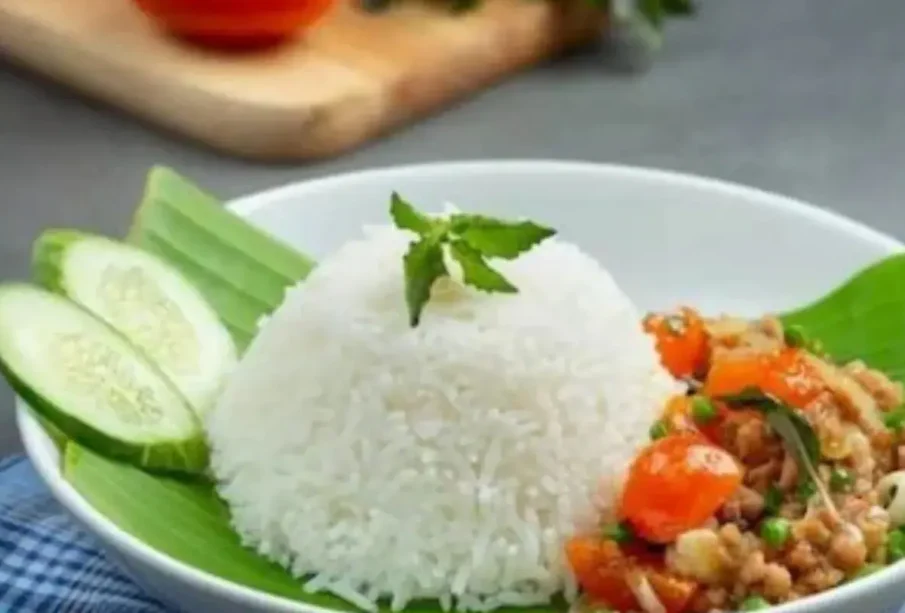
Cooking grains perfectly seems like a foundational culinary skill, yet it presents a recurring source of frustration in home kitchens. Many individuals have experienced the disappointment of lifting a pot lid only to find a gummy, waterlogged mass or, conversely, a scorched bottom with a chalky center.
Achieving a light, distinct, and fluffy texture for your grains is not a matter of luck. It is a precise intersection of simple food science, proper ratios, and temperature control. By adjusting your preparation habits and mastering a few universal stovetop techniques, you can ensure that every batch of rice, quinoa, or millet turns out flawlessly separated and perfectly tender.
The Critical Importance of Surface Starch Removal
The primary reason grains clump together and become gluey is the presence of excess surface starch. During packaging and shipping, individual grains rub against one another, creating a fine, powdery dust. When this dust meets hot cooking liquid, it gelatinizes almost instantly, acting as a potent adhesive that binds the grains into unappealing clusters.
To prevent this, structural rinsing is an absolutely mandatory baseline step. Place your measured grains into a fine-mesh sieve and submerge it within a large bowl of cold water. Agitate the grains vigorously with your fingers for a few seconds, then lift the sieve and discard the cloudy liquid.
Repeat this rinsing cycle multiple times until the water remains completely clear. For long-grain white varieties like basmati, this may take four to five rinses, whereas robust brown options or ancient seeds require fewer runs. This simple step ensures that each grain cooks as an independent entity, laying the groundwork for a light, airy final structure.
Toasting Grains to Build Structural Integrity
Before introducing any liquid to your cooking vessel, you should consider dry roasting or sautéing your rinsed, dried grains in a small amount of cooking oil or butter. This step alters both the flavor and the final physical texture of your food.
Heating the dry grains over medium heat for two to three minutes accomplishes two things:
-
Starch Protection: Sautéing coats the exterior of each grain in a micro-layer of fat, which acts as a barrier that prevents residual starches from bleeding into the cooking water as the temperature rises.
-
Flavor Development: The direct heat initiates the Maillard reaction, breaking down natural sugars and proteins to unlock a deep, nut-like aroma.
You will know the grains are ready for liquid when you hear a faint cracking sound and notice a subtle color shift to a rich, golden hue. This technique is incredibly effective for pseudo-cereals like quinoa, where it also helps degrade remaining saponins—the natural, soapy exterior coating that often imparts an unpleasant, bitter note if left unaddressed.
Master the Precise Science of Liquid-to-Grain Ratios
Using generic, imprecise measurements or relying on visual estimates is a guarantee of a failed batch. Grains cook primarily through absorption and steaming. If you add too much water, the cell walls of the grains rupture, leaking starch and turning mushy. Too little water results in rapid evaporation, leaving the center of the grain dense and undercooked.
The ideal ratio depends heavily on the specific grain variety and your chosen equipment. For a classic stovetop absorption method, a standard long-grain white rice or a blend of white rice and quinoa functions beautifully at a strict one-to-two ratio: one cup of dry grain to two cups of fresh water or seasoned broth.
However, if you choose to rinse your grains thoroughly without letting them dry completely, you must account for the water clinging to the surface. In those instances, lowering the liquid input by roughly two tablespoons per cup prevents the mixture from turning soggy. For ancient varieties like millet or whole-grain brown rice, which possess an unrefined, fibrous bran exterior, you will need to scale your liquid upward to roughly two and a quarter cups per cup of grain to ensure thorough moisture penetration over a longer cooking window.
The Absolute Ban on Stirring and Peeking
Once your liquid comes to a boil, you must give the pot a single, gentle stir to distribute the grains evenly, immediately lower the heat to its absolute minimum setting, and seal the vessel with a tight-fitting lid. From this exact moment onward, you must enforce a strict policy of non-interference.
Stirring grains while they are actively simmering is a catastrophic culinary error. The friction of a spoon physically scrapes starch off the individual grains, thickening the surrounding water into a paste and creating a sticky texture.
Similarly, lifting the lid to check on progress destroys the internal cooking environment. The grains rely heavily on trapped steam to cook through to their core. Every time you lift the lid, you allow that essential steam and heat to escape into the kitchen, dropping the internal temperature and altering your liquid calculations. Trust your kitchen timer, keep the heat low, and leave the pot completely alone.
The Rest and Fluff Ritual
The cooking process does not end when you turn off the burner. When your timer signals that the active simmering window is complete, remove the pot from the hot element entirely, but do not touch the lid. Let the sealed pot rest undisturbed on a cool surface or a trivet for a full ten minutes.
This resting phase is where the structural magic occurs. While the pot sits off the heat, the residual steam redistributes evenly throughout the vessel. Moisture that migrated to the top drops back down, while any remaining surface liquid on the bottom grains is completely absorbed. Skipping this step results in a uneven pot: soggy on the bottom and dry on top.
After ten minutes have elapsed, remove the lid and examine your work. Do not use a heavy metal spoon to scoop the grains, as this will crush them into a dense paste. Instead, use the tines of a fork or a wide, plastic rice paddle to gently lift and turn the grains from the outer edge inward. This allows trapped steam to escape rapidly, cooling the surface of the grains slightly and setting their starch structure into a perfectly distinct, light, and airy state.
Frequently Asked Questions
Why does the bottom of my grain pot consistently burn even when I set the burner to low?
Scorched bases usually occur due to poor heat distribution or an incorrectly sized pot. If you use a massive pot to cook a single cup of grains, the liquid spreads across a large surface area and evaporates too quickly, causing the food to burn before it finishes absorbing the moisture. Ensure your pot size matches the volume of food. Furthermore, thin-bottomed pots create intense hot spots directly above the flame; utilizing a heavy-bottomed, multi-clad stainless steel or cast-iron saucepan will distribute the heat evenly across the base and prevent localized scorching.
Should I add salt to the water before bringing it to a boil or after the grains are fully cooked?
You should always season your cooking liquid with salt before bringing it to a boil. Adding salt directly to the water allows the seasoning to penetrate deep into the center of the grains as they absorb moisture and expand. If you wait until the end of the cooking process to add salt, the seasoning will merely sit on the exterior surface of the grains, resulting in an uneven, superficially salty flavor profile rather than a well-rounded, savory taste.
Can I substitute water with bone broth or coconut milk using the exact same structural ratios?
Yes, you can substitute alternative flavorful liquids, but you must be mindful of their density and fat content. Clear bone broths, vegetable stocks, or light fruit juices can be used at an identical one-to-one swap with water. However, rich liquids like full-fat canned coconut milk contain significant solids and fats that do not evaporate or absorb the same way water does. When using coconut milk, it is best to use a blend of half coconut milk and half water or broth to ensure there is enough free moisture to properly steam the grains to a fluffy finish.
How does cooking grains at high altitudes alter the standard liquid-to-grain ratio guidelines?
At higher elevations, atmospheric pressure is significantly lower, which causes water to boil at a lower temperature and evaporate much faster than it does at sea level. Because the water boils off quickly before the grain has a chance to soften, you will need to increase your overall liquid input by roughly 15 percent to 20 percent. Additionally, you should expect the total active simmering time to lengthen by several minutes to compensate for the lower cooking temperatures.
Is it safe to leave cooked grains resting at room temperature before serving them at dinner?
No, leaving cooked grains at room temperature for extended periods poses a distinct food safety risk. Raw grains frequently carry spores of Bacillus cereus, a bacterium capable of surviving normal cooking temperatures. If cooked grains sit at room temperature, these spores can multiply rapidly and produce toxins that cause foodborne illness. To keep your food safe, serve your grains immediately after the ten-minute rest phase, or cool any leftovers quickly and store them in an airtight container in the refrigerator within two hours of cooking.
What is the best way to reheat leftover grains without losing their light and fluffy texture?
Leftover grains naturally dry out and harden in the refrigerator as their starches undergo retrogradation. To restore their original fluffiness, place the desired portion into a microwave-safe bowl, sprinkle a single tablespoon of water or broth over the top, and cover the bowl tightly with a damp paper towel. Microwave on high power for one to two minutes; the damp towel traps steam, rehydrating the grains uniformly without making them soggy. Alternatively, you can gently toss the grains in a hot skillet with a tiny pat of butter for a few minutes.


